Custom Scan Patterns requires Chat Software version 2.2 or higher.
Opening the Scan Editor
To access the Scan Editor:
- Go to a vocabulary page.
- Choose Menu > Edit Mode > Pages.
- Choose a page. The following menu will open:

4. Choose Scan Editor. The following prompt will be displayed:
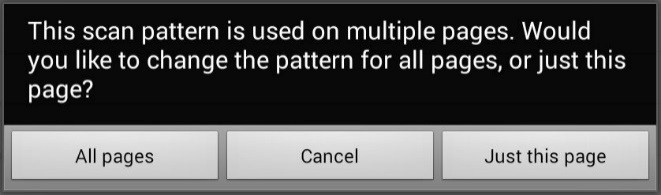
- Select either All pages or Just this page. The Scan Editor will open at the default top level.
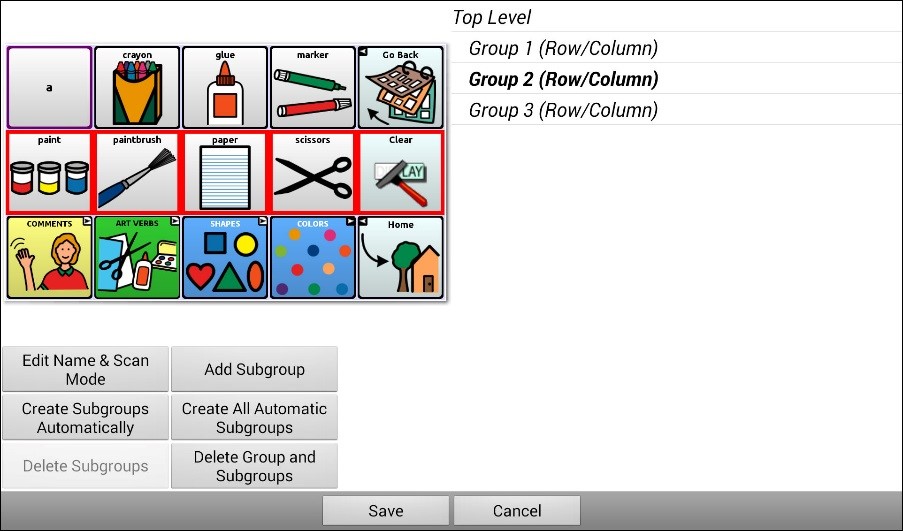
- Tap Top Level (Default). The Scan Editor menu options appear in the lower left corner.

Using the Scan Editor Menu Options
For an easy way to get started, select Create Subgroups Automatically or Create All Automatic Subgroups. A list of groups will appear under “Top Level”.
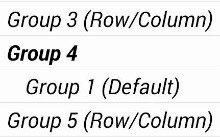
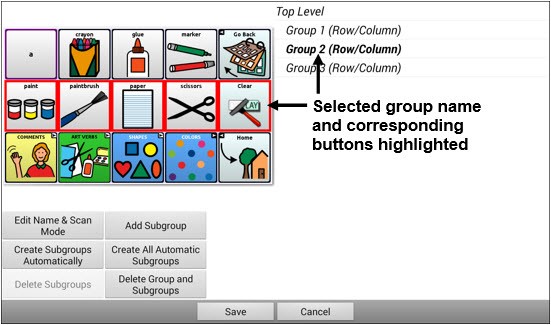
From the list of groups, select the group you want to include in the scan. When you select a group, its name will appear in bold and the corresponding group of buttons in the preview screen will be highlighted.
Note: The number of groups listed is controlled by the scanning mode setting: Menu > Settings > Input > Scanning > Patterns > Mode.
Edit Name & Scan Mode
Modify the name and scan mode of the selected group or subgroup.
- Select Edit Name & Scan Mode.
- Tap in the Name field and enter the new name.
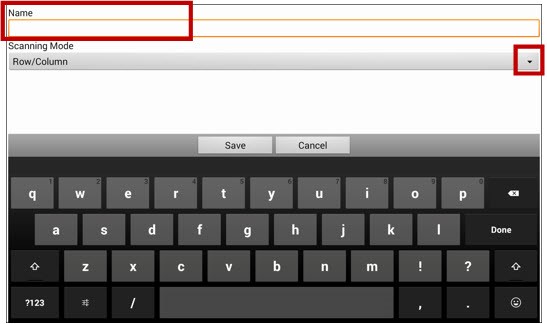
- Tap the arrow and select the scan mode you want: Default, Linear, Row/Column, Block, or Flow.
- Choose Save.
Add Subgroup
Add a subgroup to the selected group.
- Tap the group.
- Select Add Subgroup.
- The subgroup will appear below the group or subgroup.
Create Subgroups Automatically
Add subgroups to the selected group or subgroup automatically. This option creates one level of subgroups. The number of subgroups is controlled by the scanning mode setting: Menu > Settings > Input > Scanning > Patterns > Mode.
- Tap the group you want to expand.
- Select Create Subgroups Automatically.
- The subgroups will be listed below the group or subgroup.
Create All Automatic Subgroups
Add the maximum number of subgroups to the selected group or subgroup automatically. This option creates multiple levels of subgroups. The number of subgroups is controlled by the scanning mode setting: Menu > Settings > Input > Scanning > Patterns > Mode.
- Tap the group you want to expand.
- Select Create All Automatic Subgroups.
- The subgroups will be listed below the group or subgroup.
Delete Subgroups
Delete all the subgroups for the selected group.
- Tap the group you want to delete.
- Select Delete Subgroups.
- All subgroups for the group will be deleted.
Delete Group and Subgroups
Delete the selected group and all its subgroups or delete the selected subgroup and all its subgroups.
- Tap the group you want to delete.
- Select Delete Group and Subgroups.
- The group and its subgroups or the subgroup and its subgroups will be deleted.
Creating a Custom Scan Pattern
- Go to a vocabulary page.
- Choose Menu > Edit Mode > Pages.
- Choose a page. The following
 menu will open:
- Choose Scan Editor. The following prompt will be displayed:

- Select either All pages or Just this page. The Scan Editor will open at the default top level.
- Tap Top Level (Default). The Scan Editor menu options appear in the lower left corner.
- Choose Create Subgroups Automatically. A list of groups will appear under “Top Level”.
Note: The number of groups listed is controlled by the scanning mode setting: Menu > Settings > Input > Scanning > Patterns > Mode.
- From the list of groups, select the group you want to include in the scan. When you select a group, its name will appear in bold and the corresponding group of buttons in the preview screen will be highlighted.
- Select the menu option you want. For example, you could change the group’s name and scan mode or add one or more subgroups.
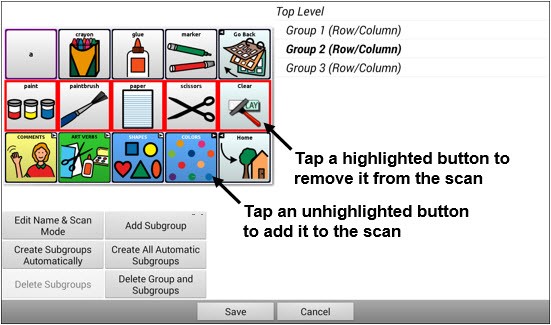
- When you create the basic scan pattern you want, you can refine it.
Example: Tapping a highlighted button on the preview screen will remove it from the scan pattern. Tapping an unhighlighted button will add it to the scan pattern.
- Choose Menu . Two menu options are displayed: Set as Default and Delete Scan Pattern & Quit. Choose Set As Default. The following prompt will be displayed:
Setting this scan pattern as the default will overwrite the scan patterns of other pages. Are you sure you wish to continue?
- Choose Yes to confirm that you want to use this pattern.
- Choose Save. The scan pattern you created will be applied to all pages in the vocabulary.